

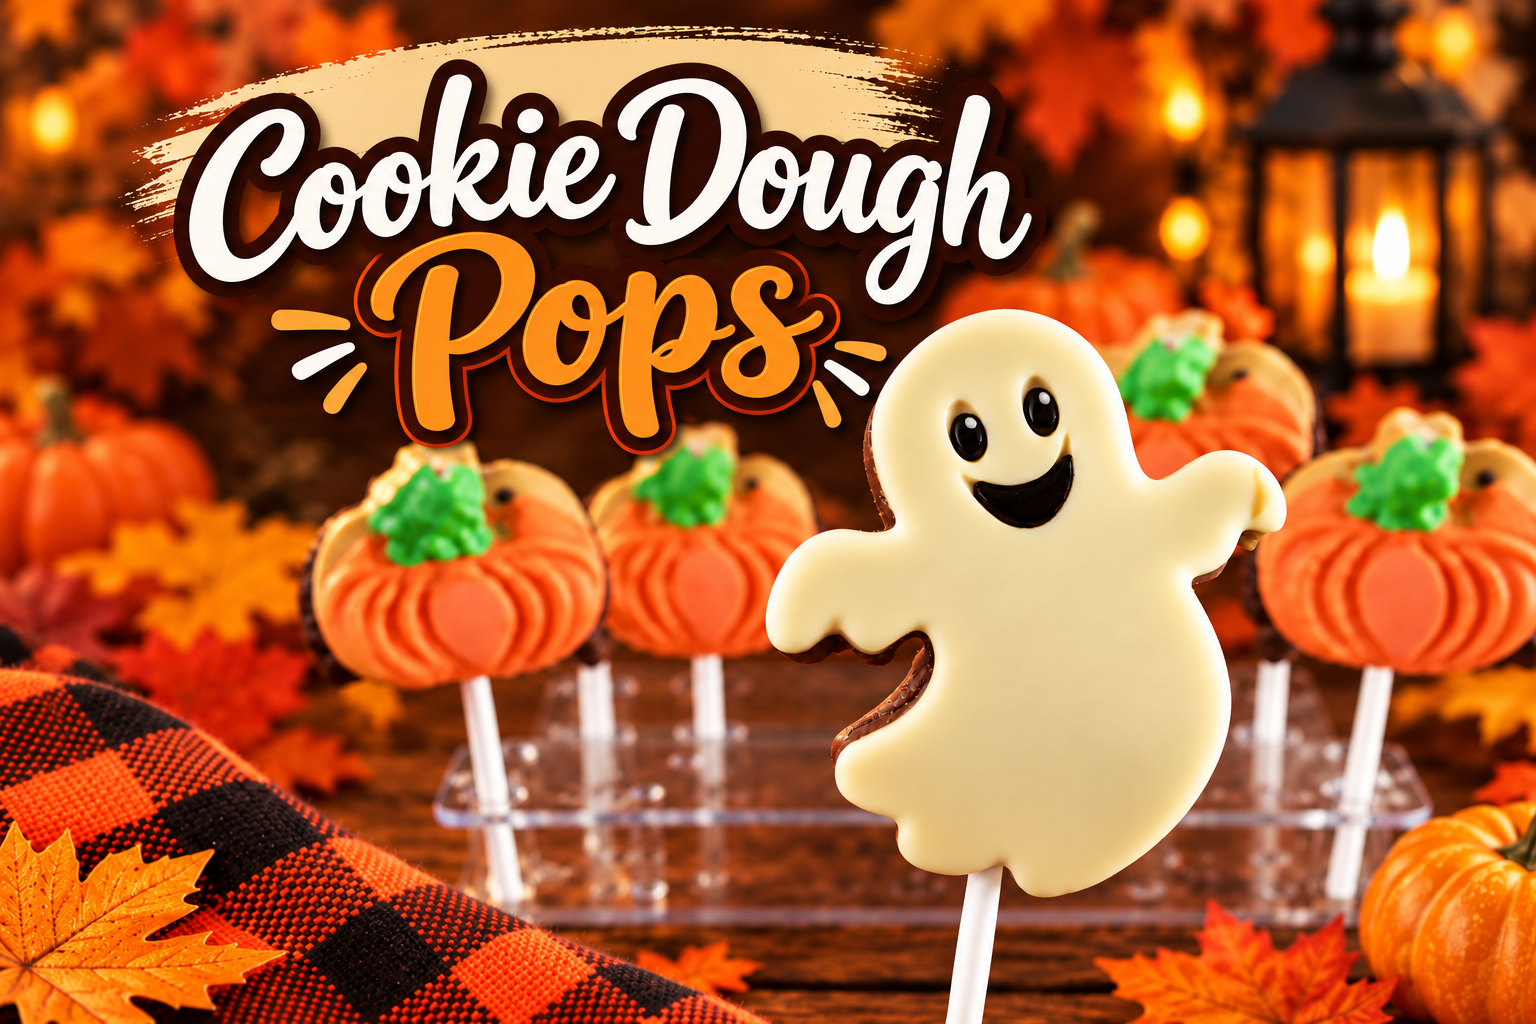
My kids absolutely love my cookie dough, and that’s how these cookie dough pops got their start. I didn’t want them eating regular raw cookie dough, so I started making a version they could enjoy without baking it into cookies.
When I made Halloween cookie dough pops, they were such a hit that I sold out within the first couple of hours! There’s something about a favorite treat tucked inside a fun chocolate shape that makes people want to try one.
They’re easy to make, too. The dough takes about 20 minutes, and filling the molds takes another 10 minutes. If you’re adding a chocolate coating inside the molds, plan on about 10 more minutes of hands-on time, plus freezing time.
The Cookie Dough Shop That Almost Happened
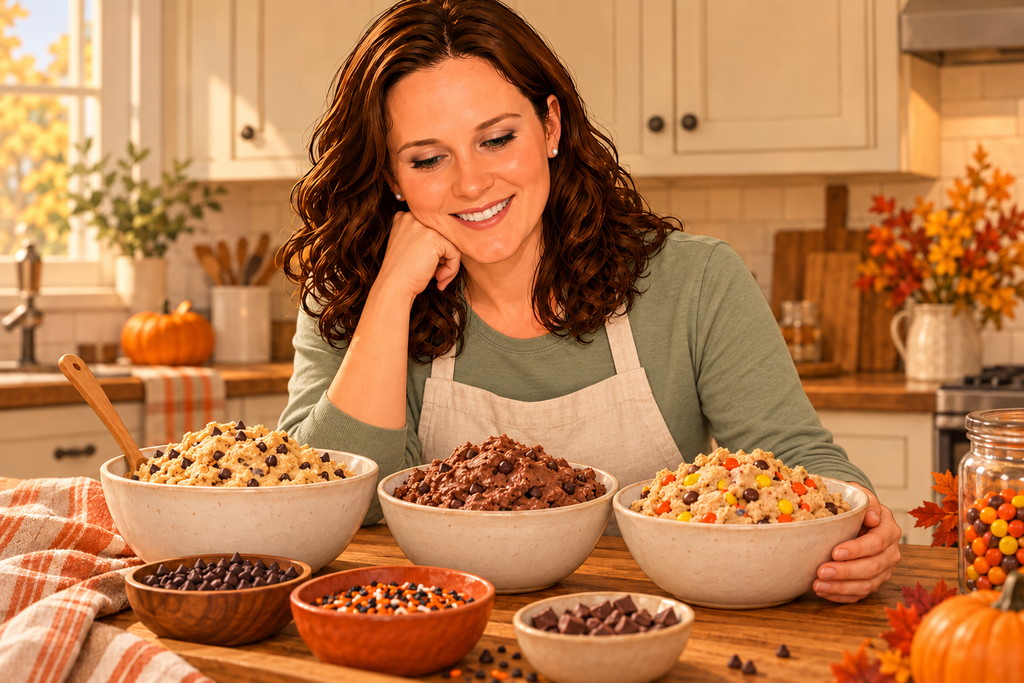
Funny story, my husband almost had me convinced to open a cookie dough shop more than 10 years ago.
We talked about selling an assortment of flavors with different add-ins. He thought it could work, but I wasn’t completely convinced that people would buy cookie dough from a shop.
I was pretty gun-shy. Loving something at home and opening a business around it felt like two very different things.
Now it seems like you can find cookie dough everywhere. Maybe I shouldn’t have been so scared! At the time, though, I really didn’t know if it would work.
I never opened that shop, but these little treats certainly found their fans.
If you’d rather enjoy your cookies fresh from the oven, you can find more of my family favorites in my bakery-style cookie recipes collection.
What You Need for Cookie Dough Pops
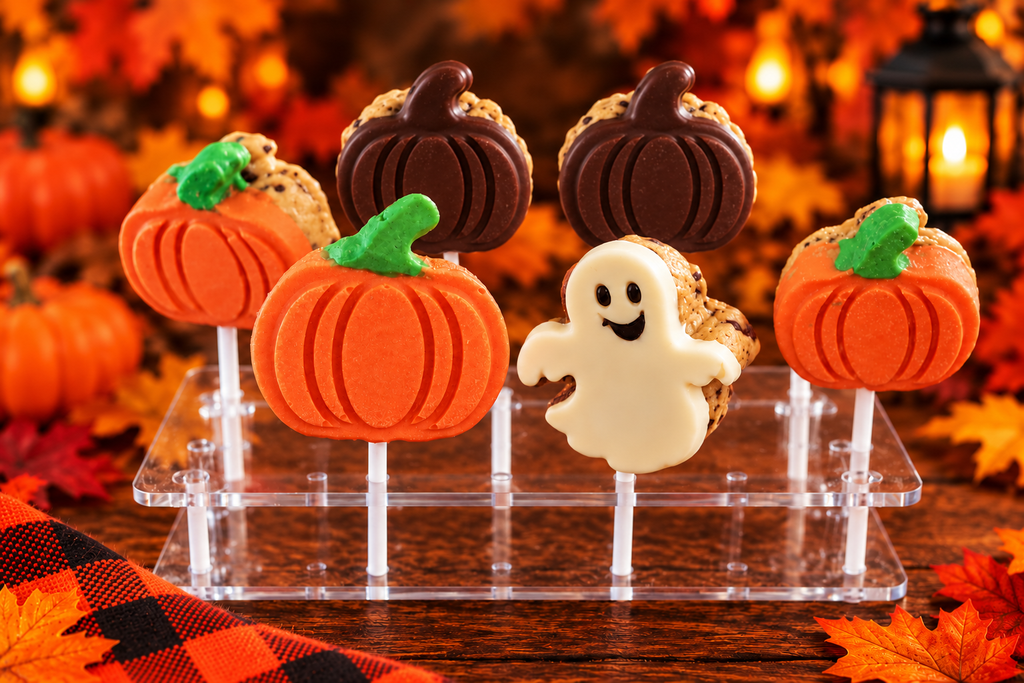
This recipe makes a very large batch. Your yield will depend on the size and depth of your molds.
For the dough:
- 3 cups packed brown sugar
- ¾ cup granulated sugar
- 2 cups melted butter
- 1 cup milk
- 2 tablespoons vanilla extract
- 4 teaspoons baking soda
- 2 teaspoons salt
- 6–7 cups commercially heat-treated wheat flour specifically labeled for ready-to-eat use, plus more if needed
- 3 cups mini chocolate chips
For the chocolate coating:
- 5 cups chocolate chips, divided as needed
- Optional chocolate-compatible, oil-based food coloring, if using white chocolate
You’ll also need food-safe molds and treat sticks if you want to serve them as pops.
Hands-on preparation: About 30 minutes, or 40 minutes with the chocolate coating
Freezing: Until the dough shapes are firm, plus 30 minutes to 1 hour after coating
Yield: One very large batch, with the number depending on your molds
An important note about flour: An egg-free recipe still needs flour that’s suitable for eating without further cooking. The FDA advises against treating ordinary flour in a home oven or microwave because those methods may not reliably eliminate harmful bacteria. Read the FDA’s guidance on handling flour safely.
For an online source, Honeyville sells Page House Heat-Treated Flour, which it describes as suitable for raw recipes. It’s sold in a 50-pound bag, so it’s a bulk option rather than a small grocery-store purchase. Always check the product’s current labeling before ordering.
How to Make Cookie Dough Pops
- Mix the butter and sugars. In a large mixing bowl, beat the melted butter, brown sugar, and granulated sugar until smooth. Mix in the milk and vanilla until fully incorporated.
- Add the dry ingredients. Gradually mix in the baking soda, salt, and ready-to-eat flour, starting with 6 cups. Add the remaining flour as needed until the dough holds its shape when pressed into a mold. You can add more than 7 cups if it’s still too sticky. If it feels too dry, add milk a tablespoon at a time.
- Stir in the mini chocolate chips. Mix until they’re evenly distributed throughout the dough.
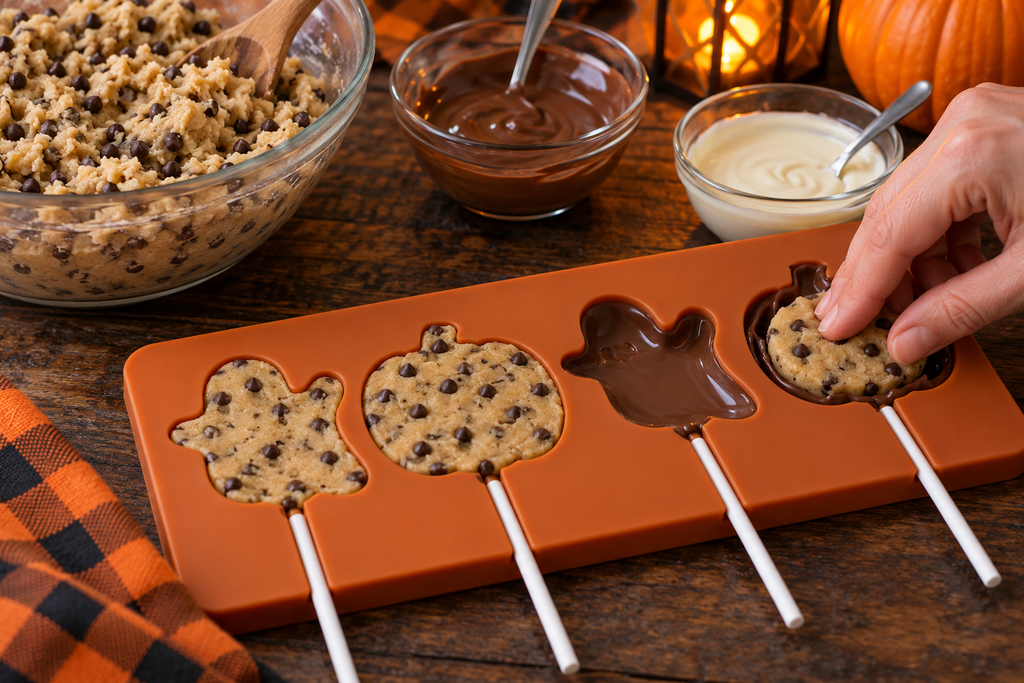
- Fill the molds. Press the dough firmly into each cavity, making sure it fills the corners and details. Freeze until the shapes are firm enough to remove without breaking.
- Melt the chocolate. Place the coating chocolate in a microwave-safe bowl. Heat in 30-second intervals, stirring between each, until melted and smooth. Work in smaller batches if needed. For colored designs, use white chocolate and chocolate-compatible coloring.
- Line the molds with chocolate. Remove the frozen dough shapes and keep them cold. Wash and thoroughly dry the molds. Spoon a small amount of melted chocolate into each cavity, then tilt the mold or use a small spoon to coat the bottom and sides.
- Return the dough to the molds. Gently press each frozen dough shape into its chocolate-lined cavity. For a fully enclosed treat, spread a little more melted chocolate over the exposed dough.
- Add sticks and freeze again. If you’re using molds designed for pops, position the treat sticks before the chocolate sets. Return the molds to the freezer for 30 minutes to 1 hour, or until the coating is firm.
- Unmold and enjoy. Carefully remove the finished treats. If your molds don’t accommodate sticks, serve them as chocolate-covered cookie dough bites.
Fun Shapes and a Few Helpful Tips
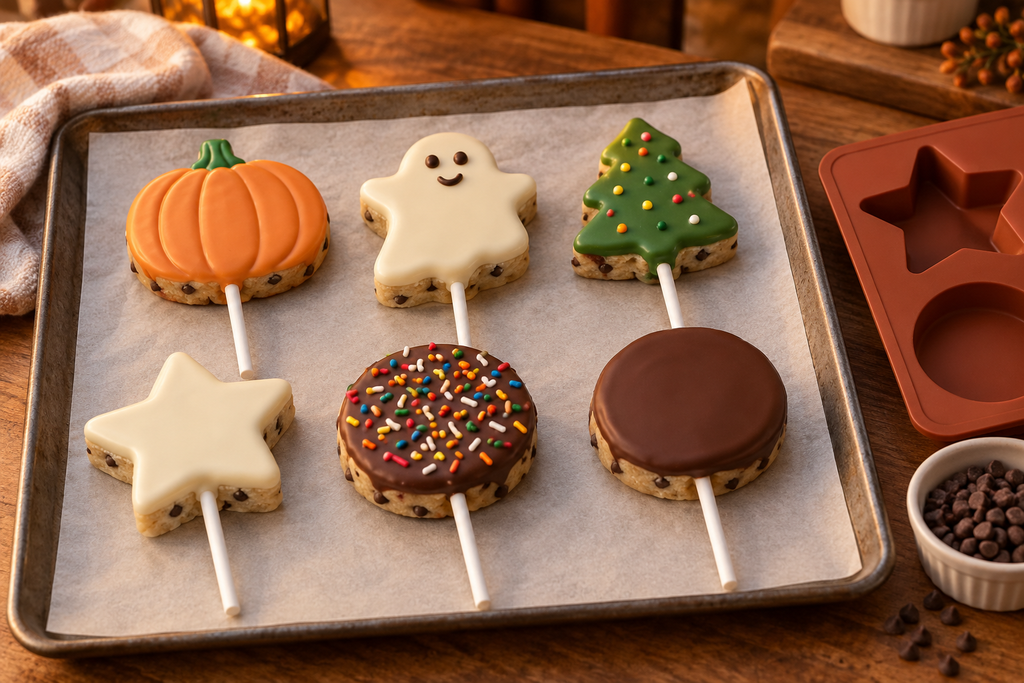
The Halloween version was a hit, but you can use different molds to make cookie dough pops for Christmas, birthdays, or other celebrations. Simple shapes work well, too.
Choose molds with enough room for both the dough and the chocolate coating. Very narrow details can be harder to fill and more likely to break when you unmold them.
A few small things make the process easier:
- Use mini chocolate chips. They fit into the molds more easily and spread little bits of chocolate throughout the dough.
- Keep the dough shapes cold. Leave any shapes you aren’t working with in the freezer.
- Dry the molds completely. Even a little water can cause melted chocolate to seize.
- Choose chocolate-compatible coloring. Regular water-based food coloring can make melted chocolate thick and grainy.
- Clear some freezer space first. This is a large batch, and the molds need to sit level while everything firms up.
Storing Your Cookie Dough Pops
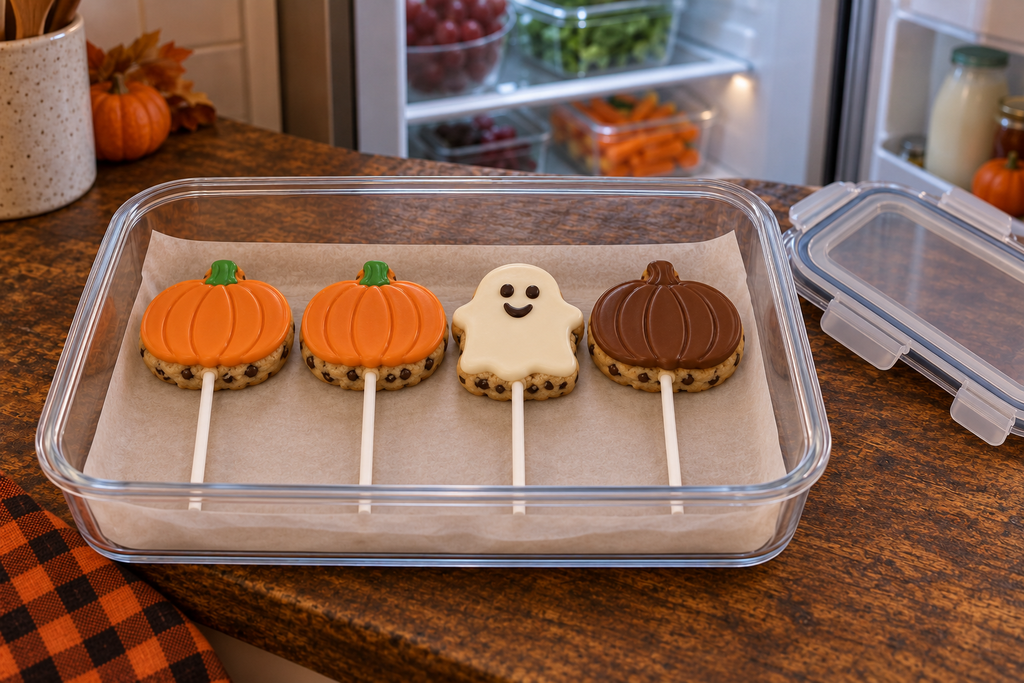
Keep the finished treats in a covered container in the refrigerator. For longer storage, freeze them in an airtight container with parchment paper between layers to protect the shapes.
Thaw frozen treats in the refrigerator. When serving, bring out smaller batches and keep the rest chilled.
These started with something simple: my kids loved cookie dough, and I wanted to make a treat they could enjoy. The molds and chocolate turned that idea into something even more fun.
I may have passed on the cookie dough shop, but seeing those Halloween treats sell out still makes me smile.
What shape would you make first?
Making every house feel a little more like home.

